Medplum Integration
#Introduction
Working with healthcare data often requires both retrieving and storing patient health records in a FHIR-compliant way. Let's walk through how to use Medplum as a FHIR data repository for health records from Flexpa.
While Flexpa helps you retrieve clinical, financial, and coverage records from multiple sources, you may need a secure and compliant place to store this information. Medplum is an excellent choice as it provides a fully-managed, HIPAA-compliant FHIR server with built-in data modeling, search capabilities, and healthcare-specific features that make it ideal for storing and working with health data.
When using Medplum with Flexpa you can build things like:
- Digital consent and records retrieval for a clinical trial
- Patient onboarding with digital insurance cards
- New member onboarding for a health plan with a records sync from the past plan
This guide will show you step-by-step how to add Medplum to the Flexpa Quickstart project. We'll then walk through how it works.
#Setup
#Medplum Project
This guide assumes you are using the hosted Medplum sandbox but you can also run Medplum locally.
Medplum has a freely available sandbox environment that you can use to test your integration.
Start by registering an account and creating a new Project:
- Open the registration page in your browser: https://app.medplum.com/register
- Fill in your account details and click "Create account"
- Fill in the name of your new Medplum Project and click "Create Project"
A Project is a collection of FHIR resources that is logically separated from other resources on the server.
Find additional information about Projects in the Medplum documentation.
#Medplum Client
Next, we need to get API keys.
Medplum uses OAuth 2.0 client credentials to authenticate and authorize clients. These are represented by a ClientApplication resource. A Project can have multiple ClientApplication resources to represent many different clients.
When you created your Medplum Project, a test ClientApplication was created for you.
This ClientApplication will be used to send requests to Medplum's FHIR API to create and update resources from Flexpa.
You need to find the client ID and client secret for this ClientApplication:
- Navigate to the Client Applications page
- Select the test client
- Find the ID and Secret values on the details tab
We will use these values in the .env file in the next step.
#Environment variables
Open .env from the Quickstart repository in a text editor.
Add the ID and Secret values from the previous step to the .env file.
The ID value should go in the MEDPLUM_CLIENT_ID variable.
The Secret value should go in the MEDPLUM_CLIENT_SECRET variable.
Update the .env file
# Open the .env file in a text editor and fill in the Medplum client credentials
MEDPLUM_CLIENT_ID=
MEDPLUM_CLIENT_SECRET=
#Running
Start the Quickstart server as usual with npm run dev.
Next, navigate to http://localhost:3000 and create a consent.
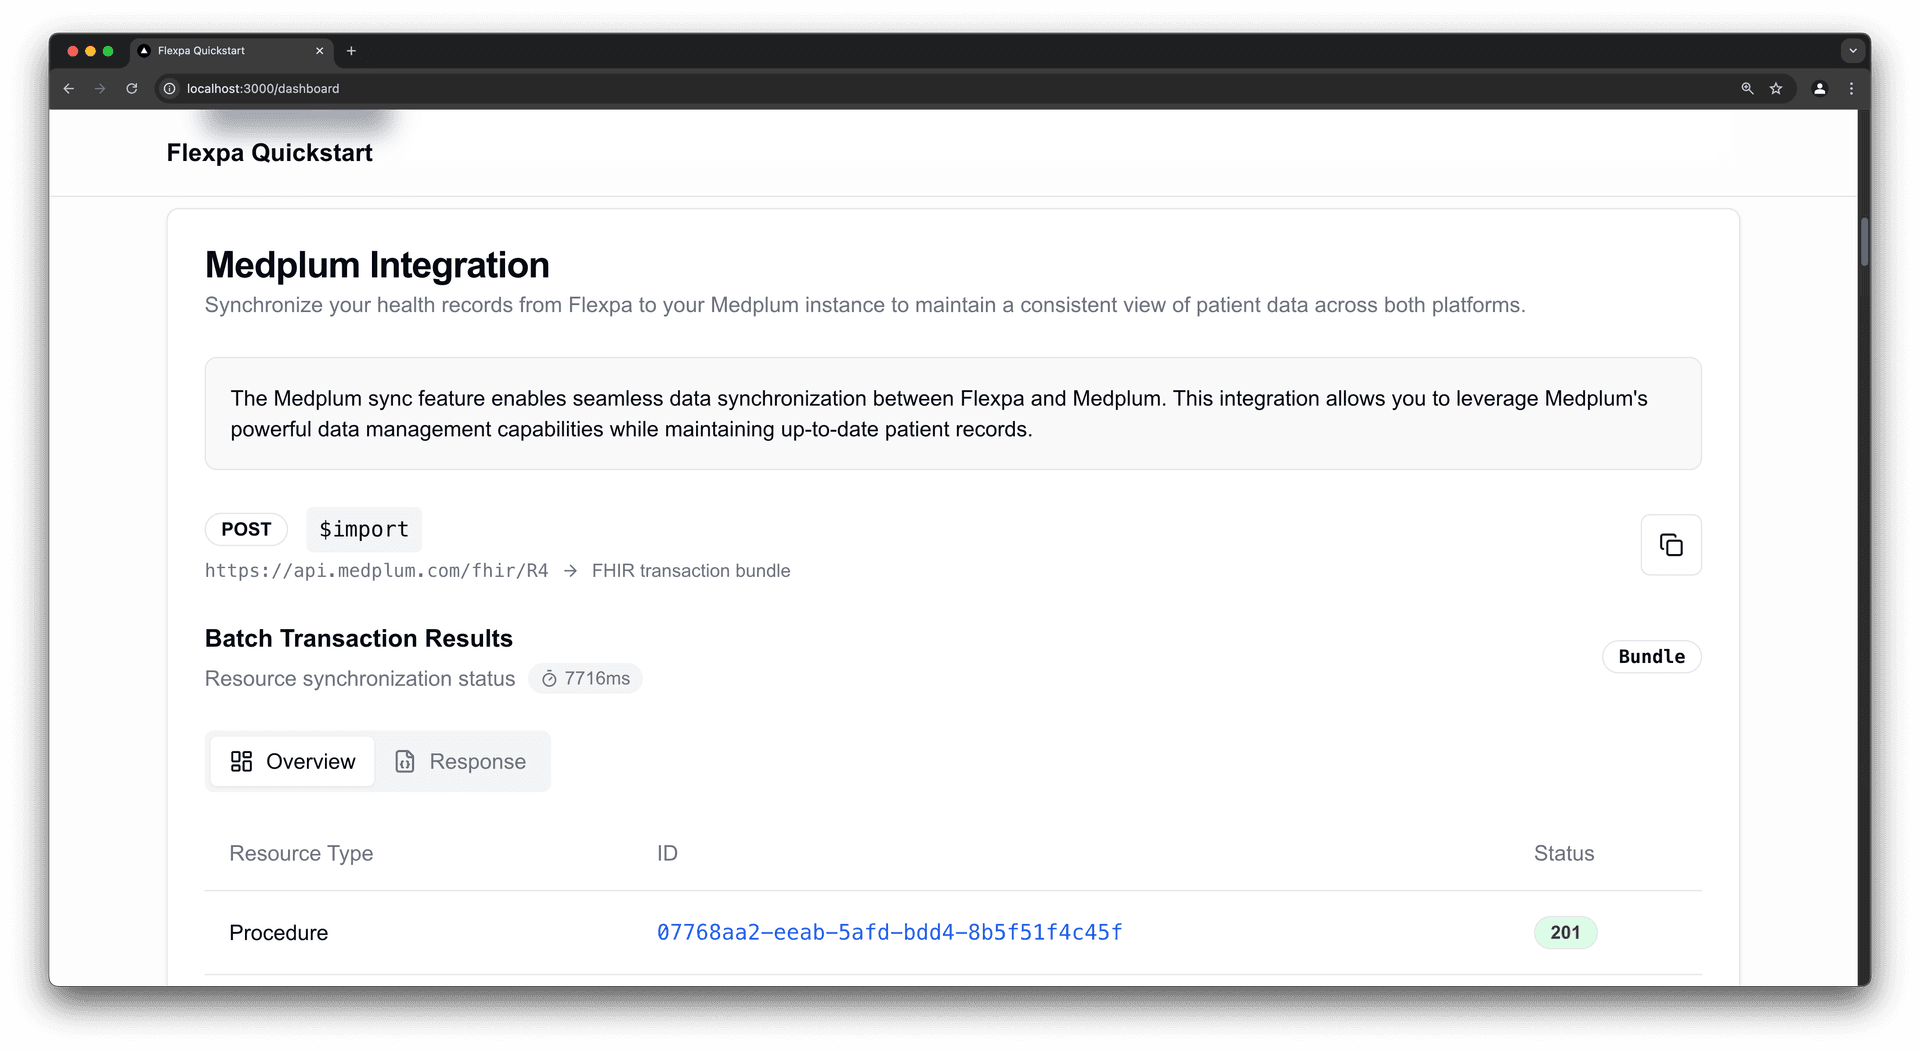
Once the consent is created, scroll down to the section labeled Medplum Integration.
You can start a new sync operation by clicking the Start Sync button. You will see the outcome of the sync operation displayed in the UI.
Once synced you can click the resource ID links to view the resource in Medplum.
Run server
# Start the development server
npm run dev

# Go to http://localhost:3000 and create a consent

# Go to http://localhost:3000/medplum
#How it works
Quickstart's Medplum integration has two main steps:
- Everything Operation - Records are retrieved from Flexpa using the
$everything operation
- Batch Transaction - Records are created in Medplum using a batch transaction created from the results of the Flexpa
$everything operation
#Everything Operation
The Patient $everything operation, available at /fhir/Patient/$PATIENT_ID/$everything, is a FHIR standard operation that retrieves all available resources that are related to a specific patient.
When used with Flexpa, this operation returns all available health data for the authenticated patient, including clinical records, financial information, and coverage details.
In the Quickstart, and in this Medplum integration guide, we use the Node SDK to make this call but you can make it with any HTTP client.
src/app/api/sync/route.ts
const client = FlexpaClient.fromBearerToken(session.accessToken);
const everything = await client.$everything();
#Batch Transaction
A batch transaction is a FHIR operation that allows us to create or update multiple resources in a single request. When storing the results from Flexpa's $everything operation in Medplum, we transform the response into a transaction bundle.
The transformation process involves:
- Converting the bundle type from
searchset to transaction
- Adding a
request object to each entry that specifies how Medplum should process it
- Ensuring Flexpa's identifiers are preserved to help with resource tracking
Before the data reaches your application, Flexpa performs extensive processing to ensure data integrity:
- Each consent's records are assigned globally unique identifiers
- Resource references are properly mapped and maintained
- Identifier collisions are eliminated, even when different members pull data from different payers
- References between resources are validated and normalized
This preprocessing means you can safely store data from multiple payers and members in your Medplum instance without worrying about identifier conflicts or reference integrity issues.
#Complete Implementation
Below is the complete implementation showing how to fetch data from Flexpa using the $everything operation and store it in Medplum using a batch transaction. This code handles authentication with both services, performs the data fetch, transforms the response into a transaction bundle, and executes the batch operation.
import { NextResponse } from 'next/server'
import FlexpaClient from '@flexpa/node-sdk'
import { MedplumClient } from '@medplum/core';
import { getSession } from '@/lib/session';
import { Bundle, FhirResource } from 'fhir/r4';

export const medplum = new MedplumClient({
  clientId: process.env.MEDPLUM_CLIENT_ID,
  clientSecret: process.env.MEDPLUM_CLIENT_SECRET
});

export async function POST(request: Request) {
  const session = await getSession();

  if (!session?.accessToken) {
    return NextResponse.json(
      { error: 'Unauthorized' },
      { status: 401 }
    )
  }

  const client = FlexpaClient.fromBearerToken(session.accessToken);
  const everything = await client.$everything();

  const batch: Bundle = {
    resourceType: 'Bundle',
    type: 'transaction',
    entry: everything.entry?.map((entry) => ({
      resource: {
        ...entry.resource as FhirResource,
        meta: {
          ...entry.resource?.meta,
          tag: [
            ...(entry.resource?.meta?.tag || []),
            {
              system: 'https://fhir.flexpa.com/identifiers/ResourceId',
              code: entry.resource?.id
            }
          ]
        }
      },
      request: {
        method: 'POST',
        url: `${entry.resource?.resourceType}`,
        ifNoneExist: `_tag=https://fhir.flexpa.com/identifiers/ResourceId|${entry.resource?.id}`
      },
    })),
  };

  const outcome = await medplum.executeBatch(batch);

  return NextResponse.json(outcome);
}
#Additional Resources